
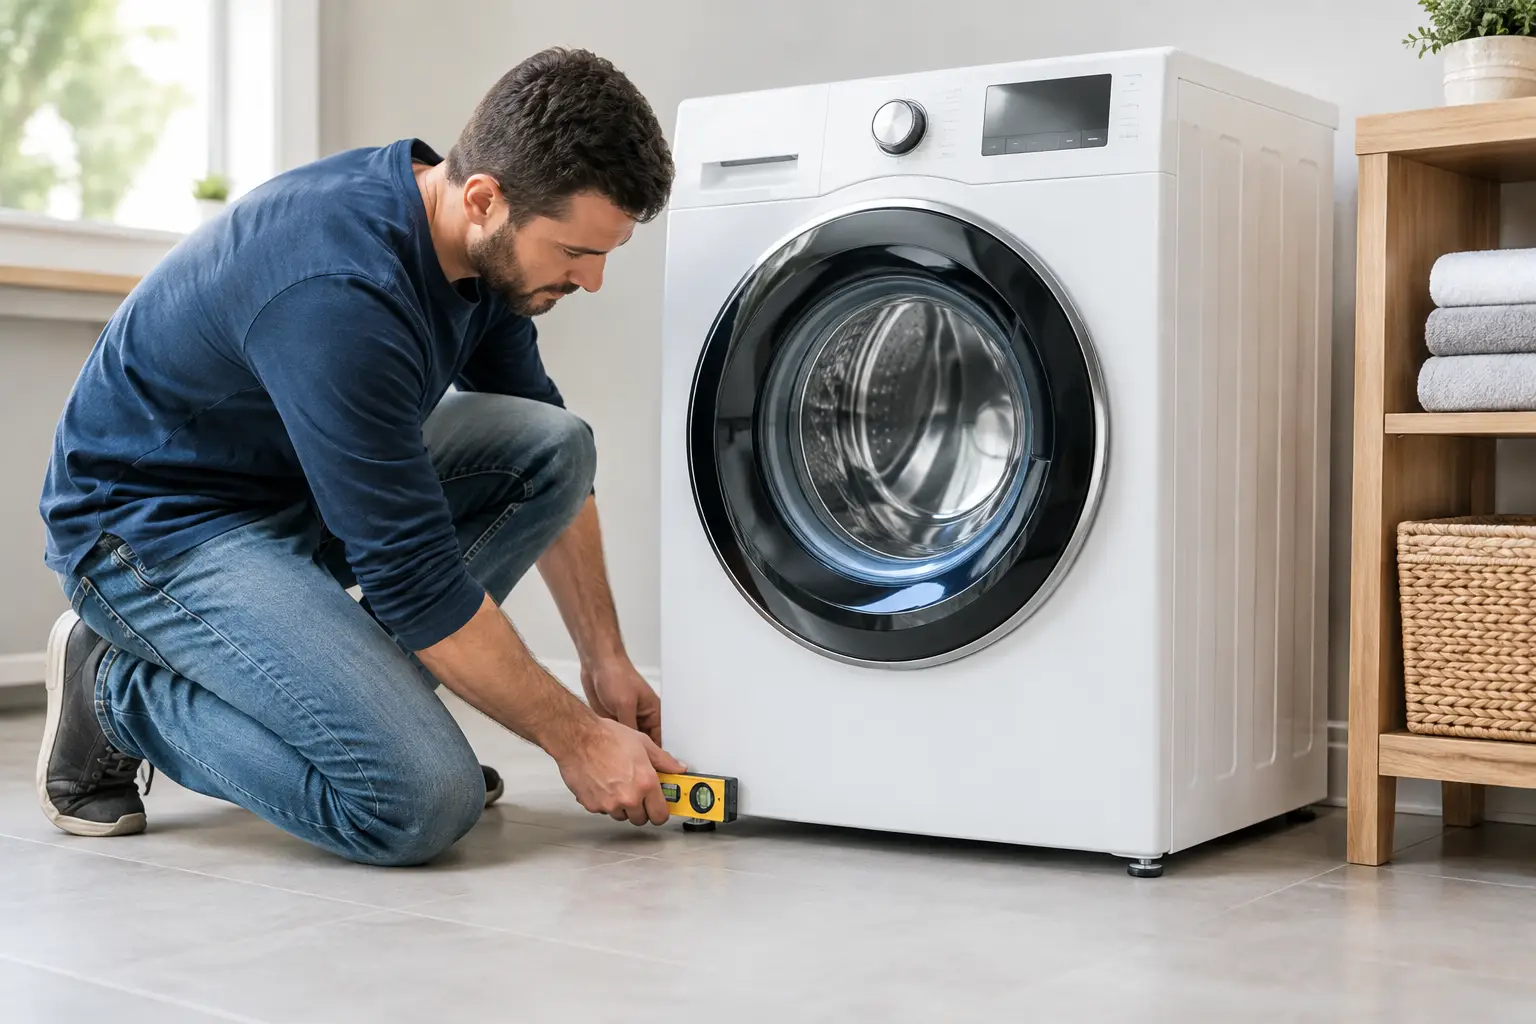
A washer that walks across the floor during spin is not just annoying. Repeated vibration can strain hoses, loosen connections, damage flooring, and leave your laundry room feeling like a repair is always around the corner. Knowing how to level a washer can often solve the problem quickly, provided the appliance and floor are otherwise in good condition.
Most washers have adjustable feet designed for this exact purpose. The process is straightforward, but a rushed adjustment can make the machine less stable than it was before. Take a few minutes to check the setup carefully, especially if the washer is newly installed, has been moved, or began shaking after a heavy load.
Why a Washer Becomes Unlevel
A washer can sit unevenly for several reasons. A move, new flooring, normal settling in an older home, or a machine being pushed while cleaning can alter the position of its feet. Even a small difference in height can become dramatic during a high-speed spin cycle.
The issue is not always the feet. An uneven floor, soft vinyl flooring, a deteriorating platform, or a washer that is overloaded on one side can all produce vibration. Front-load washers are particularly sensitive because they spin at high speeds, but top-load machines can also bang, rock, or shift when they are not supported evenly.
Before adjusting anything, make sure the washer is empty and turned off. If it has been running, allow it to come to a complete stop. For extra safety, unplug the machine before reaching behind it or moving it away from the wall.
How to Level a Washer Step by Step
Start by placing the washer in its normal position. It should have enough space behind it that the water hoses and drain hose are not sharply bent, pinched, or pressed against the wall. A machine pushed too far back may appear stable at first but can create hose problems later.
Press down firmly on each top corner of the washer, one at a time. If it rocks diagonally, one or more feet are not making solid contact with the floor. This simple test often tells you which corner needs attention before you reach for a tool.
Use a carpenter’s level across the top of the washer from side to side, then from front to back. Check more than one location on the top panel, as a rounded or uneven lid can give a misleading reading. The bubble should sit between the marked lines in both directions.
Most washers use threaded levelling feet at the front, while some models have adjustable rear feet as well. Consult the owner’s manual if you are unsure how your particular model is built. In many cases, you can tilt the washer slightly backward, with help from another adult, to access and turn the front feet. Never tip it excessively or place your hands underneath an unsupported machine.
Turn the foot in small increments, then lower the washer and test it again. Depending on the design, turning a foot clockwise may raise or lower the corner, so watch the result rather than relying on a general rule. Continue until the washer no longer rocks and the level reads correctly in both directions.
Once the machine is stable, tighten the lock nuts against the bottom of the washer cabinet if your model has them. This detail matters. Without tightened lock nuts, the feet can gradually rotate from vibration and the problem can return after a few loads.
Tools That Make the Job Easier
You may only need a level and an adjustable wrench. Having the following on hand makes the work safer and more precise:
- A carpenter’s or torpedo level
- An adjustable wrench or pliers for lock nuts
- Work gloves for a better grip
- A flashlight for checking feet, hoses, and the floor behind the washer
Avoid using cardboard, folded cloth, wood scraps, or loose shims under a washer foot. These temporary fixes compress, slide, absorb moisture, and can make vibration worse. If the floor itself is badly uneven, a properly designed washer pedestal or a professional installation assessment may be the better answer.
Test the Washer With a Balanced Load
A level reading is a strong start, but the real test comes during a spin cycle. Run a small, balanced load such as several towels, not a single heavy item. Watch the washer during the early spin phase and again when it reaches higher speed.
A properly levelled washer should remain in place with only normal vibration. Some sound and movement are expected, especially with older machines or wood-frame floors. What is not normal is repeated banging, a cabinet that visibly shifts, or a washer that travels across the floor.
If the machine shakes only with certain loads, the cause may be laundry distribution rather than the installation. A single bath mat, bulky comforter, or one heavy item can collect on one side of the drum. Pause the cycle if your model allows it, redistribute the load, and restart. Washing bulky items according to the manufacturer’s load recommendations can prevent this problem.
Check for Shipping Bolts and Installation Problems
If a new front-load washer shakes violently from its first use, check whether its shipping bolts were removed during installation. These bolts secure the drum for transport and must be removed before the machine is operated. Leaving them in place can cause severe vibration and may damage the washer.
Do not assume that every vibration issue is a levelling issue. Confirm that the washer is sitting directly on a solid floor, all feet are in contact with the surface, and the drain hose and water lines have enough room behind the appliance. Also check that the power cord is not trapped under a foot or cabinet edge.
For stacked laundry units, pedestal-mounted washers, or machines installed in a tight closet, adjustments can be more complicated. The appliance may need to be pulled out safely, and the dryer or stacking hardware must remain secure. This is a situation where professional installation help can prevent damage to the appliance, flooring, and connections.
When Levelling Will Not Stop the Vibration
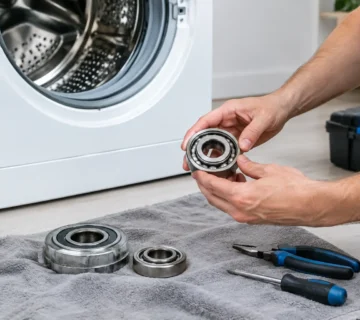
If the washer is level but still makes loud knocking sounds, thumps during spin, leaks, or produces an error code, there may be an internal repair issue. Worn suspension rods, damaged shock absorbers, a loose counterweight, a failing bearing, or a drum problem can all resemble an uneven washer.
Floor condition also matters. A flexible second-floor laundry room may transmit vibration even when the washer is perfectly level. In that case, anti-vibration pads may reduce noise on some surfaces, but they cannot correct a weak floor or a mechanical fault. Pads should sit flat and be compatible with the washer’s footing, not be used to compensate for a rocking machine.
For renters, it is wise to document persistent movement or leaking before making major changes to the setup. Landlords may need to address flooring, drainage, or electrical concerns. Homeowners should avoid forcing an appliance into place if hoses are strained or if the floor feels soft under the machine.
Get Help When the Cause Is Not Clear
A washer should not require constant readjustment. If you have levelled the feet, tightened the lock nuts, balanced the load, and the machine still shakes, a technician can identify whether the problem is installation-related or inside the appliance. A clear diagnosis helps avoid replacing parts that are not needed.
For households in Kitchener, Waterloo, Cambridge, and surrounding communities, IAS Repair & Parts can assess washer vibration, installation concerns, and mechanical faults with transparent recommendations before work begins. A properly installed and levelled washer protects more than the appliance – it helps keep laundry day quieter, safer, and far less disruptive.



No comment